


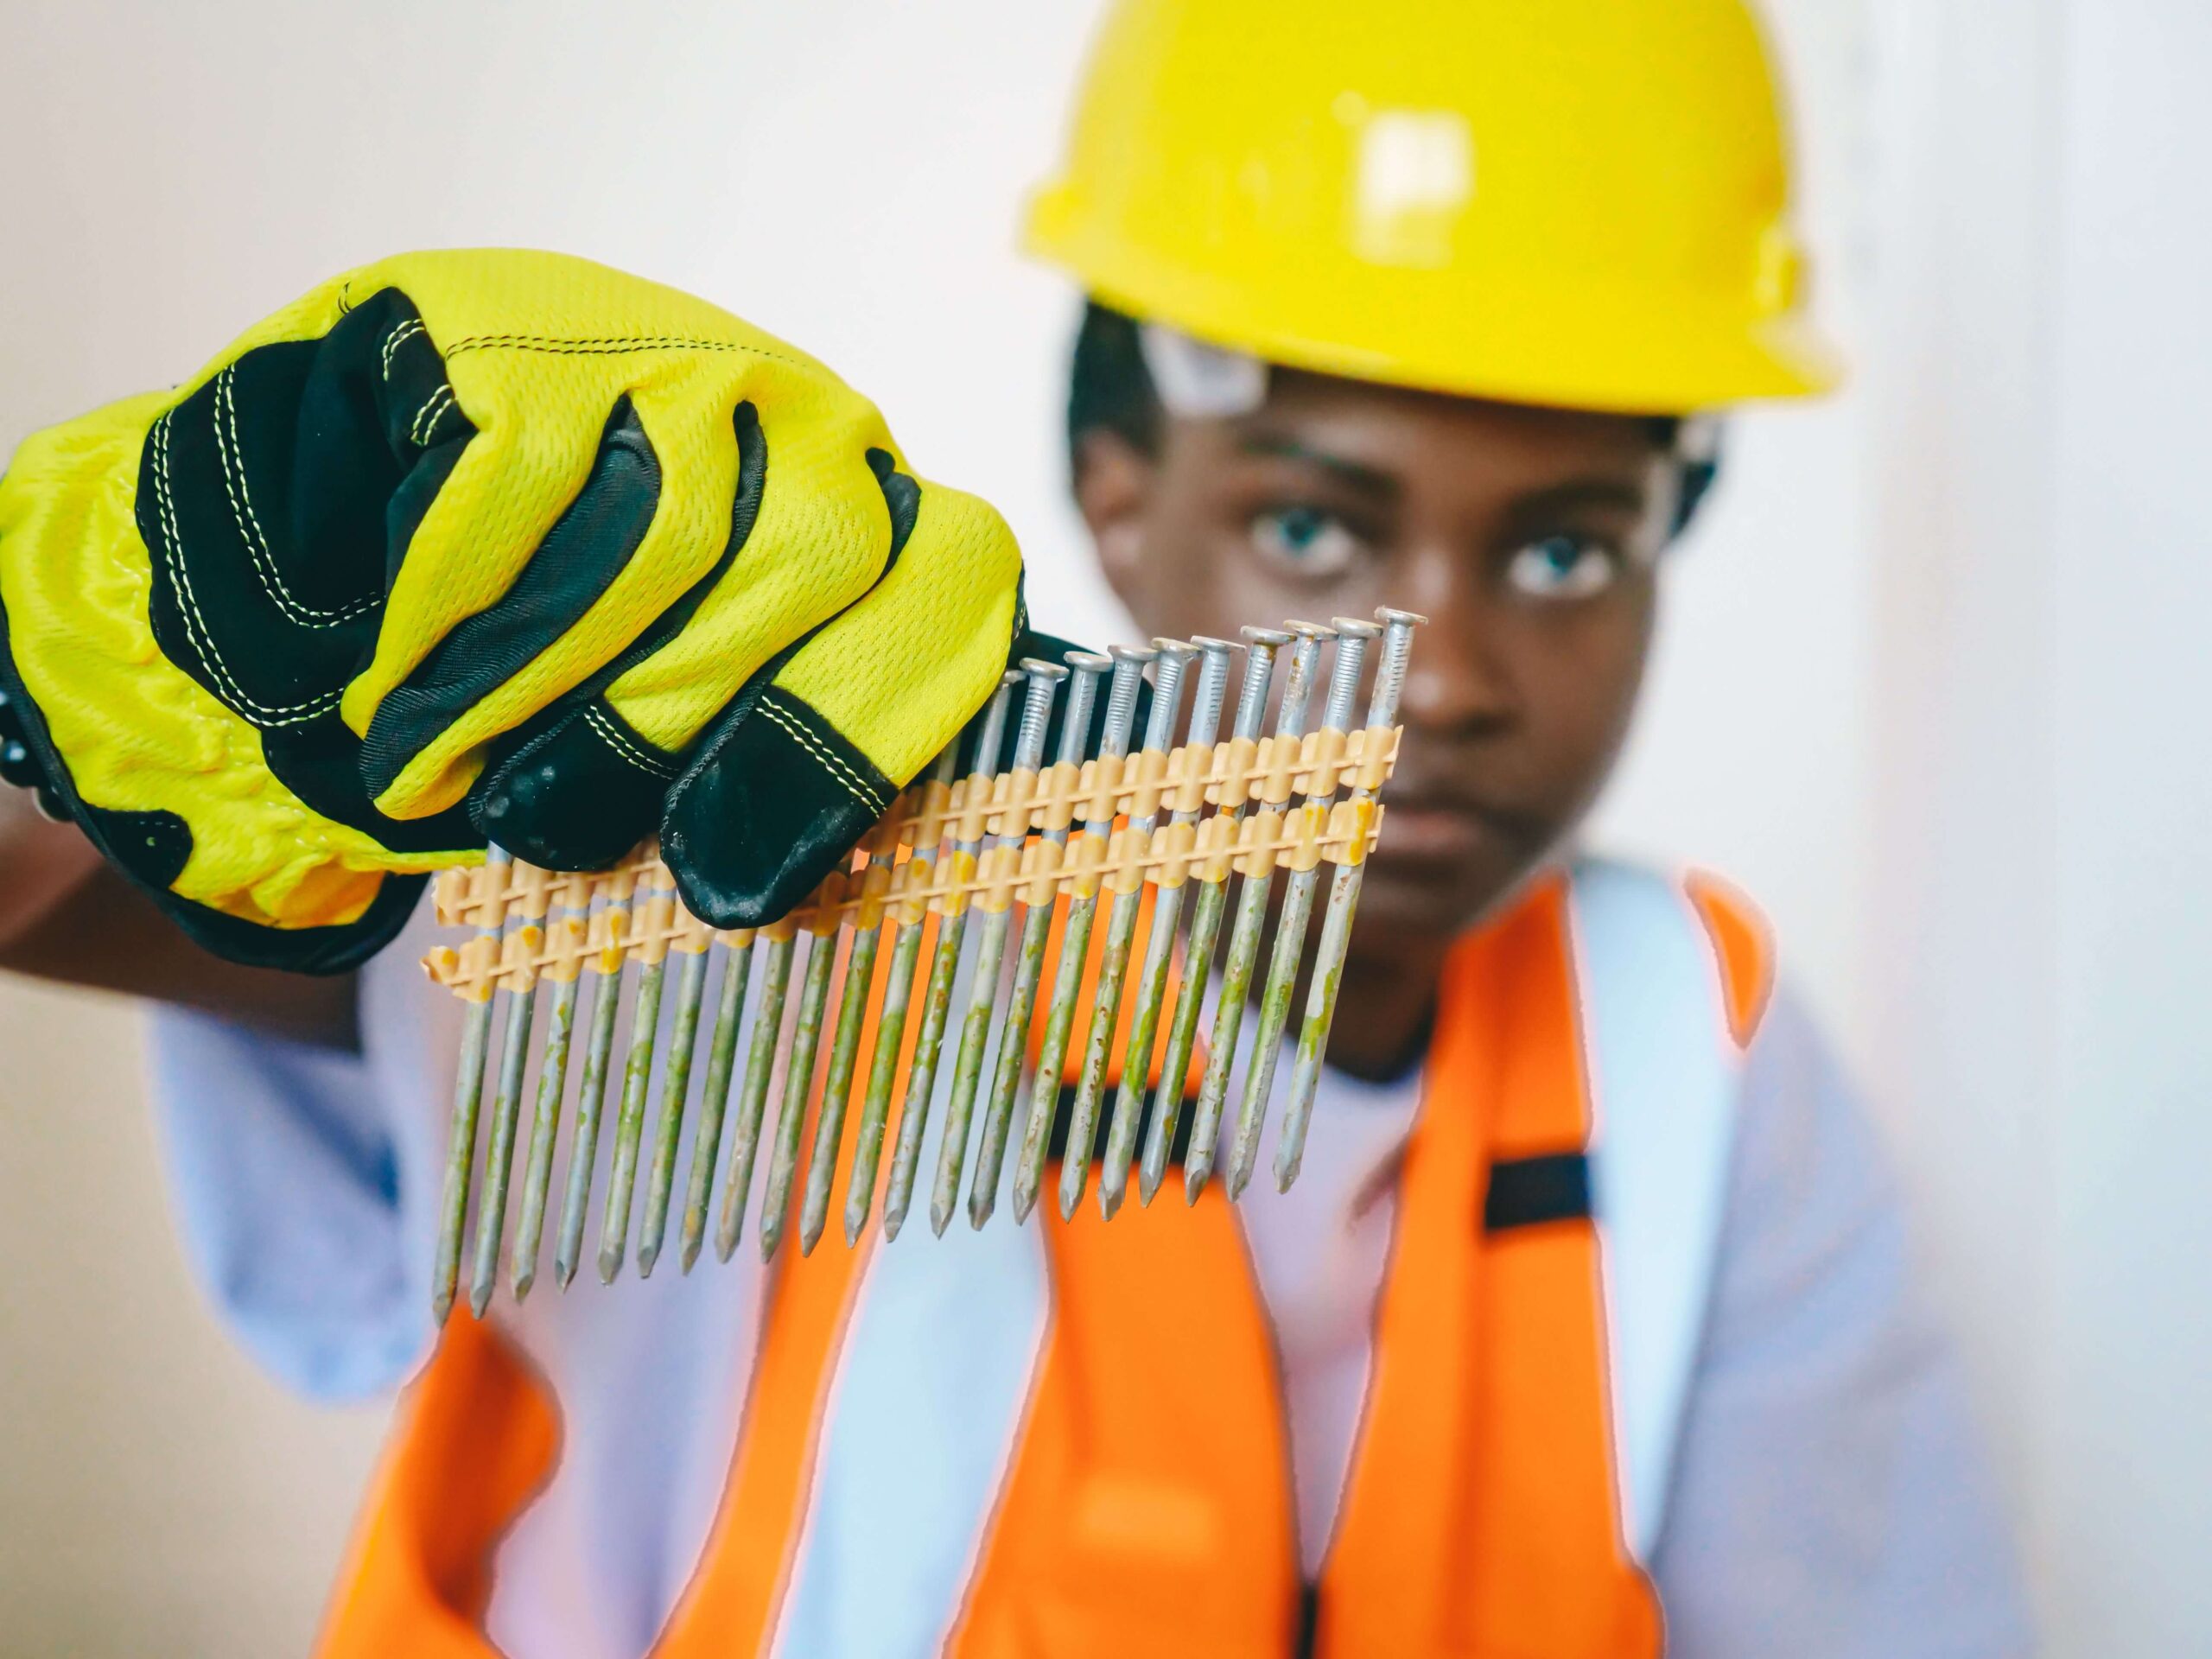
What Are Brad Nails Used For?
Brad nails attach thin, lightweight trim and molding to wood. They do it without splitting the material or leaving a hole big enough to need filler. Think shoe molding, quarter round, cabinet trim, light door casing, and craft or furniture projects. A thicker nail would crack that kind of material or leave a hole too big to hide.
What Makes a Brad Nail Different
A brad is thin. Manufacturers make it from 18-gauge wire, about 0.047 inches in diameter, with a length that typically runs from 5/8 inch up to 2 inches. That thinness is the entire point. A brad carries a small head, sometimes called a “dimple” head, so it sinks in cleanly and often skips the need for wood filler before painting.
Compare that to a finish nail, usually 15- or 16-gauge, roughly 0.0625 to 0.072 inches thick. A finish nail holds noticeably better, but it also splits narrow or delicate stock more easily. Its larger head requires filler before finishing. USDA Forest Products Laboratory testing found that a 16-gauge 2-inch finish nail delivers about 2.7 times the withdrawal resistance of an 18-gauge brad at the same length in southern yellow pine. That gap widens even further in denser hardwoods like maple or cherry. The number matters because it shows exactly what you give up when you pick a brad over a finish nail: real holding strength, traded for a cleaner, less destructive fastener.
Where Brads Actually Get Used
Trim carpentry is the main job. Shoe molding, quarter round, small baseboards, and light door or window casing all call for brads. The material is thin enough that a bigger nail risks splitting it. Cabinet work leans on brads too, particularly for attaching thin cabinet backing, face frames, or trim pieces, where a visible, fillable hole would ruin the look.
Furniture builders reach for brads when assembling light frames, securing thin plywood or fiberboard panels, or holding a piece in position while glue cures. Picture frames, small boxes, and other craft projects use brads for the same reason. The material is too thin or too visible for anything heavier.
Crown molding is a split case. Small, lightweight crown profiles work fine with brads. Larger, heavier crown needs the extra grip of a finish nail instead, especially anything exposed to real structural load or wide spans.
Why the Thin Gauge Matters
Splitting is the real risk brads solve. Push a 16-gauge finish nail into a piece of quarter round or thin shoe molding, and there’s a real chance it cracks the wood right along the grain. That risk goes up near an end or edge. An 18-gauge brad displaces far less material going in, so it dodges that problem on stock that a finish nail would damage.
The tradeoff is holding power, and it’s not trivial. A brad won’t reliably support real structural weight or resist much sideways stress. That’s fine for trim that’s just decorative. It’s the wrong choice anywhere the piece needs to bear load or take repeated stress, like a shelf bracket or anything load-bearing.
Common Mistakes
The most frequent mistake is picking a brad where a finish nail was the right call. Baseboards taller than about 3 to 4 inches, thicker crown molding, or anything under real physical stress need the stronger hold of a 15- or 16-gauge nail. A brad might hold at first, then work loose over months as wood expands and contracts with humidity.
The opposite mistake happens too: reaching for a finish nailer on delicate trim out of habit, then splitting a piece that a brad would have handled fine. If the stock is thin, narrow, or close to an edge, the thinner fastener is usually the safer starting point.
Length selection trips people up as well. A brad should generally penetrate at least 3/4 inch into the base material behind the trim for a reasonably secure hold. Too short, and the piece won’t stay put. Too long, and you risk the nail punching through the back side of thin material.
When a Brad Isn’t the Right Tool
Anything structural is off the table. Brads carry no rating for load-bearing connections, shelf supports, or anything that resists real pulling or shearing force over time. That job belongs to a finish nail or a screw.
Very delicate work points toward a pin nailer instead: thin veneer, tiny trim pieces, or anything where even an 18-gauge hole would show too much. Pin nails run 23-gauge, thinner still, with no head at all, which leaves an almost invisible hole. The catch is holding power. Pin nails offer even less than brads, so most people pair them with glue rather than using them as the sole fastener.
Brad vs. Finish vs. Pin Nails
| Type | Gauge | Typical Length | Best For | Holding Power |
|---|---|---|---|---|
| Pin nail | 23-gauge, headless | 3/8″–2″ | Delicate trim, veneer, temporary glue-up tacking | Lowest |
| Brad nail | 18-gauge | 5/8″–2″ | Light molding, cabinet trim, thin panels, craft projects | Moderate |
| Finish nail | 15- or 16-gauge | 1″–3″ | Baseboards, heavier crown molding, structural-adjacent trim | Highest |
Frequently Asked Questions
Can I use brad nails for baseboards?
Yes, for smaller, lighter baseboard profiles, generally under about 3 to 4 inches tall. Taller or thicker baseboard calls for a finish nail’s extra holding power, since it carries more surface area and weight for the fastener to support over time.
Do brad nail holes need filler?
Often not. The small head and thin shank leave a mark small enough to blend in, especially on stained or textured surfaces. A painted finish or a perfectly smooth surface still benefits from a light pass of filler for the cleanest result.
What size brad nail should I use?
As a starting point, aim for the nail to penetrate at least 3/4 inch into the material behind the trim piece. For 1/2-inch trim over solid backing, a 1 1/4-inch brad works well. Thinner trim or panel work calls for something shorter.
Can brad nails hold shelves or cabinets in place?
Not reliably on their own. Brads work as a finishing and positioning fastener, not a structural one. Shelves, cabinet carcasses, and anything bearing real weight need screws or a stronger mechanical fastener. Save brads for trim and cosmetic attachment instead.
What’s the difference between a brad nailer and a stapler?
A brad nailer drives a single round-shanked fastener, while a stapler drives a two-legged staple. Staples grip slightly better across the width of a joint because they offer two points of contact. Brads leave a much less visible hole, though, which is why trim work favors brads while structural sheathing more often calls for staples.
More free guides and tools: felful.com
